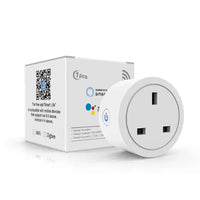
Getting Started with our Tasmota Products
Share
Getting Started with our Tasmota Products
Introduction
This guide will cover getting any of out Tasmota products setup in Home Assistant. If you haven't got any Tasmota products then why not take a look in our store.
What is Tasmota
Tasmota is an open source firmware for Espressif ESP8266, ESP32, ESP32-S or ESP32-C3 chipset based devices created and maintained by Theo Arends.
What started as a simple way to hack a cloud bound Sonoff Basic (one of the first cheap and accessible smart home devices in the market) into a locally controlled device has grown into a fully fledged ecosystem for virtually any ESP8266 based device.
All our Tasmota based devices come pre-flashed and ready to go. Home Assistant will generally auto detect Tasmota devices.
Getting Setup
Auto discovery
In most cases you device will be automitically discovered by Home Assistant.
Step 1
You should have a notification inside Home Assistant, if you do then click Check it Out.

If you don't have a notification then you'll need to navigate to Settings > Devices and Services and you'll see a section at the top named Discovered
Step 2
Click the configure button.

Step 3
Follow the wizard, you shouldn't need to change any settings.
Step 4
Done!
Manual Setup
If your devices is not automatically discovered by Home Assistant then you'll need to configure it manually by following the steps below.
Step 1
To start off with you'll want to add the following integration to your Home Assistant instance:
Step 2
Add your device to the Tasmota integration manually by navigating to Settings > Devices and Services > Integrations and selecting Tasmota then clicking on the Add Device button
Step 3
Enter the device IP Address (which you can normally find by using the connected devices page of your router)
Step 4
Done!


